Showing posts with label baking. Show all posts

Thursday, September 4, 2014

Silky New York Cheese Cake (with oreo base)


Let's start with this...Did you know that Cheese cake actually originated from GREECE! I didn't and I have never heard of Greek Cheese cake, I know there's the famous New York Cheese Cake, French Cheese Cake which I tried once and hope to share with you someday , there's also Japanese Cheese cake which looks as soft as Cotton; that's still in my wish list. 
I like to know the history of most of the food that I cook and keep them as my bedtime stories for my kids when I run out of things to say ;) So, yes Cheese Cake recipe is about 4,000 years old to Ancient Greece.
 
Its very difficult to describe a "perfect" Cheese cake coz every one has their own individual way and things that you look for it could be the crust, the tanginess, the sweetness and the texture etc..etc...
  
I got this recipe from Joe Pastry's blog, he can tell you all the science and chemistry, do visit his page for more information. I have tried it with few minor changes, some worked some did not work for me, it could work for you depending on what you are looking for.


 (Shhhhhhhh, New Yok cheese cake does not have a CRUST!!!!) I still need to figure out how to get my crust to stay crusty..its soggy ;
  
Before you start to you need to make sure your ingredients are at room temperature, that's the secret to getting a great Cheese Cake, coz if your ingredients are cold ; especially the cream cheese, when you whip you will find the lumps and you will need to whip it longer to remove the lumps and over whipping causes your Cheese Cake to crack..GOT IT!
 
For the crust you can use about 10 gram crackers about 2 cups. I used 2 packets of 10s although in the video I have shown only one.
 
Preheat your oven to 400F
For the Crust:
 
 
20 Oreo biscuit sandwiches ( 2 Cups )
3 Tbls butter
 
Spread in an 8 or 9 inch spring form (depending how tall you like your cheese cake to be) if you are using a normal baking pan, you will need to line it up with parchment paper.
Spread the crumbs evenly and bake for about 5-7 mins. Let it cool before you pour the cheese cake batter.
 
 
Bring your oven down  to 350F  and set a rack on a middle shelf

 
For the Filling
 
 
lb. 2 ounces cream cheese
7 ounces sugar
1/2 teaspoon salt
2 teaspoons vanilla extract or lemon zest if you wish
4 eggs
1 lb. 8 ounces sour cream (you can also use heavy cream, or any combination of the two)
(In the video I used 1lb sour cream and 4oz whipping cream and 4 oz sweetened condensed milk)
 
 
1. Combine your cream cheese, sugar and salt in the bowl of a mixer……and beat several minutes until smooth and creamy, scraping once or twice during the process.
 
2. Add in your vanilla and beat about 20 seconds more. Scrape.

3. Beat in the eggs one by one, again, scraping once or twice along the way.

4. Add the sour cream in three additions, and yes scrape! Mix a few seconds more.

5. Pour the mixture into the prepared pan.

Cover the pan with aluminum foil to prevent any water get in your cheese cake - no you don't that to happen!

 
6. Put the foil-lined pan in a larger shallow pan, and add an inch or so of hot simmering water.

Bake 45 minutes at 350, then turn off the oven and — without opening the oven door — bake for an additional hour as the oven cools. 
 

Allow the cake to cool for at least an hour at room temperature, then chill it for a minimum of 3 hours, preferably overnight. The next day, remove the ring and the parchment paper, slice and serve. You can get whatever topping you desire but this is good without it. 


Sunday, June 22, 2014

Pate Brisee


Did I ever mention that I love pastries , French pastries, basically everything French when it comes to desserts. The names sound so difficult to pronounce yet they sound so rich and Royal like for instance "PATE BRISEE" which is in simple terms is just short crust pastry!!!

Since I finished  culinary school which about 2 yrs now, I did these pastries may be twice, I mean theres so much to experiment and try out there theres just no time especially if you are some one like me who would like to try every good looking cake, cookie, pastry, dessert and the list is endless and yet I want to maintain the calories!!! So the 2 times that I have baked these pastries they turned out great but did not stay longer without being so soggy after adding the fillings. So I had to find out how to do them better and yes I found out the trick!!!
I volunteered to make fruit tartlets for my friend for her daughter and niece's graduation party , it was a small yet big challenge....

If you are not familiar with pastries , let me tell you they all call for pastry flour . I mean if you want really good pastries you have to use pastry flour which is not so easy to get in the market, I don't recall seeing one in the market even at whole food stores.  Let me not scare you, if you don't have, its not the end of the world...just little patience and some math..only!! so I made my own using " Joy of Baking" chart. I just watched Julia Child and she did her pastries with All Purpose flour....it can be done!!!

Pastry flour = 1 1/3 cups  A/P flour  +  2/3 cups cake flour ( if you don't have cake flour like me than you gotta make cake flour first)
Cake flour = 1 cup A/P flour - 2 table spoons ( take it off) add 2 tbls cornstarch

As far as my math was concerned I was going crazy so I made a plenty of cake flour than made a plenty of pastry flour and then...went ahead and measured what was needed for the recipe which was 250gms!!! whoooo  I cant believe this!! And no I did not try to convert these into Oz or cups! luckily  a have a scale that can do that for me but I just stuck to the original scales

Lets get on with this recipe and technique that made these babies  so delicious, flaky , yet moist even after 3 days as I write this now... This may seem very complicated and time consuming, I did mine 2 days in advance.

250gms pastry flour
3 gms salt
205 gms butter ( cut in small cubes & chilled)
55 gms ice water

Very important to have your ingredients as cold as possible

Combine the flour, butter and salt put it into the mixing bowl and place it in the refrigerator , the paddle too!! for about 15 mins or so.


Using paddle attachment, mix on low until you get coarse crumbs.


Now, if you do not have a stand mixer, you still can achieve this by using  a fork or a pastry cutter, try not to use your hand as much as you can


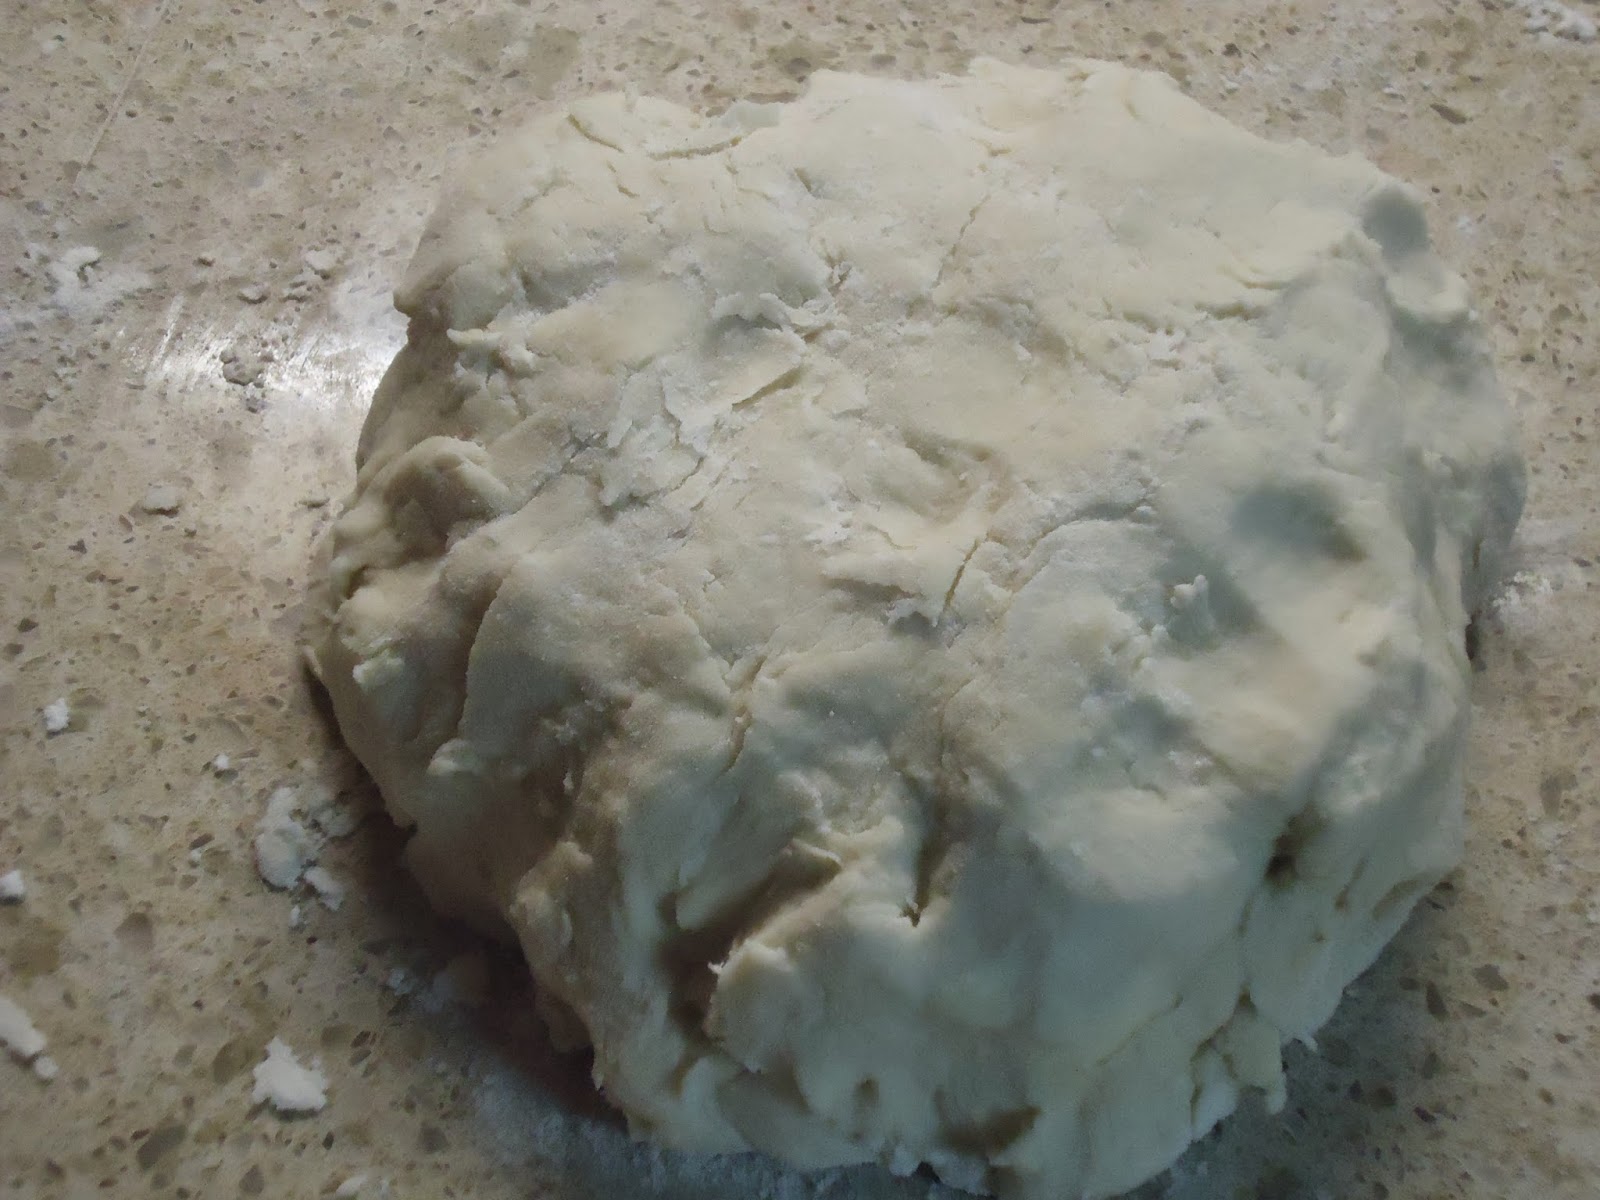
 Add water, and mix just until dough comes together smoothly, about 1 minute. Remove dough from mixing bowl, and form into smooth ball. Flour hands and board as needed
Press ball into a disk .Wrap with plastic, and refrigerate for at least 4 hours. This keeps the dough from shrinking, warping and pulling away from the pan when you bake it. ( I kept mine overnight)


Roll dough out on floured surface until about 3 mm thick. Mold dough into baking dish/tart or mini tartlets, use your fork make holes for air to escape during baking.
Refrigerate, uncovered, for at least 1 hour. Overnight is best. If you do this, cover in plastic wrap after 1 hour, once the dough has hardened.

Now, the following steps are not necessary but I found it easier to do it this way since I was doing a lot of these tartlets 150 to be prĂ©cised


Fill in with dry beans and blind bake (I lined them with aluminum foil and pour in dry beans).

Bake at 400F/200C for 20 mins and then remove the weight (dry beans) and bake for 5 more mins.
Now is the important part to prevent your crust from getting soggy.....( I found this from Joy of baking!).
After the shells have cooled , wrap them up tightly I just put them in one container and wrap them very tight. Put them in the freezer for an hour (if you want to use them for the same day or you can freeze them up to a month if you wish, I kept mine overnight)  and then take them out and egg wash with egg white while still frozen and put them in the oven at 400 for about 8-10 mins, they may appear soft but they will get hard and voila! ready to add your variety of fillings .

Right now, I leave you with this, I will get back with the various fillings that I did, I have to make them again since I did not take any pictures...:(

I wanted the colors and the flavors to be bold and striking , as you can see the pictures below the fillings were as follows :

Mango Gelee with strawberry and mint,  Vanilla bean pastry cream with blue berries, Orange ganache with raspberry and orange candy peel, lemon curd with raspberry and white chocolate shavings , coconut custard with black berries. I have the recipe ready for Mango and ginger curd

These are the pictures I took, just Ok....wait till the end and see the professional ones...Goodness, I gotta learn how to take such good pictures, I couldn't believe my food could look that awesome!! yeeeh!!


THIS ONE!!!!!!!!!!!
 

Sunday, May 19, 2013

Fluffy Vanilla Cake adapted from Sweetapolita

Today was an almost successful day with my cake, I keep reminding myself to be more patient when in comes to baking. I must say that I have improved but I still have a long way to go.

So here I am contemplating about which recipe to try out. By the way I am in the process of building my profile in the new world " Baking" . My page in facebook is called https://www.facebook.com/pages/Its-All-About-Good-Food/  came up with this name because I did not want to separate my identity from cooking although lately I have been concentrating on baking only.

Now each recipe I wanted to try there was something or the other missing and I did not feel like getting out of the house for whatever reason. Two days ago I was making some cupcakes and I did a measurement for a wrong recipe...so I kept the flour and sugar in a freezer bag and labelled so I wont forget, now today when I was browsing for recipes I found a recipe
( I have been wanting to do this) that had the same measurement of flour and sugar ( 3 cups flour , 2 cups sugar) but when I looked at it, it did not seem that it was more than 3 cups of flour. I measured it, yes I was right it was exactly 3 cups, I could feel the sugar but...where did it go. So here am wondering should I add more sugar or not but I am sure that the flour was mixed with 2 cups sugar....never mind

This is my first attempt to try Sweetapolita's cakes and yes it was beautiful and fluffy . I must say that I have become a good student when It comes to baking coz the cake turned out just as I expected . I wanted to do the ombre but my colours weren't that much different from each other and boy I do need to work on my decorating skills. The ombre frosting was a total nightmare , hopefully I should be able to do it with few more practices but how many cakes can I bake to be able to frost my cakes like a pro. Well I think I will stick to cupcakes no pain in decorating them.....So heres my cake and the recipe flows as well:
(by the way for the frosting part I did not use her recipe)


For the Fluffy Vanilla Cake:

    ·         5 large egg whites (150 g), at room temperature
·         1 whole egg
·         1 cup whole milk (237 ml), at room temperature
·         2-1/4 teaspoons (12 ml) pure vanilla extract
·         3 cups (345 g) cake flour, sifted 2
·         2 cups (400 g) sugar
·         1 tablespoon + 1 teaspoon (17 g) baking powder
·         3/4 teaspoon (5 g) salt
·         12 tablespoons (170 g) unsalted butter, cold and cut into 24 even pieces
         
Instructions

1.       Preheat oven to 350°F (180°C). Grease, line with parchment, and flour two round 8-inch pans.
2.      In a medium bowl or measuring cup, combine and stir the egg whites, whole egg, 1/4 cup of milk, and the vanilla. Set aside.
3.      In the bowl of an electric mixer fitted with the paddle attachment, combine the dry ingredients together on low speed (I use the "stir" setting on my mixer) for 30 seconds.
4.      Add the butter one piece at a time, about every 10 seconds, ensuring it's cold (you can keep some in refrigerator while you're adding pieces). Continue to mix on low until the mixture is a fine crumbly texture. Add milk, and mix on low speed until just moistened. Increase to medium speed and mix for 3 minutes. Scrape the sides of the bowl and begin to add the egg mixture in 3 separate batches; beat on medium speed for 20 seconds after each addition. Fold once or twice to ensure the batter at bottom of bowl is incorporated.
5.      Divide the batter in two, spreading it evenly with a small offset palette knife. If you have a kitchen scale, weigh to ensure 2 even layers.
6.   Bake until a cake tester comes out with a few crumbs when inserted into the center, about 30 minutes. Be so careful to not over-bake. Check cake at 20 minutes, but not before, and then set the timer for 5 minute intervals. Let cool on racks for 10 minutes


Needless to say, this cake was awesome!!!!!