
Did I ever mention that I love pastries , French pastries, basically everything French when it comes to desserts. The names sound so difficult to pronounce yet they sound so rich and Royal like for instance "PATE BRISEE" which is in simple terms is just short crust pastry!!!
Since I finished culinary school which about 2 yrs now, I did these pastries may be twice, I mean theres so much to experiment and try out there theres just no time especially if you are some one like me who would like to try every good looking cake, cookie, pastry, dessert and the list is endless and yet I want to maintain the calories!!! So the 2 times that I have baked these pastries they turned out great but did not stay longer without being so soggy after adding the fillings. So I had to find out how to do them better and yes I found out the trick!!!
I volunteered to make fruit tartlets for my friend for her daughter and niece's graduation party , it was a small yet big challenge....
If you are not familiar with pastries , let me tell you they all call for pastry flour . I mean if you want really good pastries you have to use pastry flour which is not so easy to get in the market, I don't recall seeing one in the market even at whole food stores. Let me not scare you, if you don't have, its not the end of the world...just little patience and some math..only!! so I made my own using " Joy of Baking" chart. I just watched Julia Child and she did her pastries with All Purpose flour....it can be done!!!
Pastry flour = 1 1/3 cups A/P flour + 2/3 cups cake flour ( if you don't have cake flour like me than you gotta make cake flour first)
Cake flour = 1 cup A/P flour - 2 table spoons ( take it off) add 2 tbls cornstarch
As far as my math was concerned I was going crazy so I made a plenty of cake flour than made a plenty of pastry flour and then...went ahead and measured what was needed for the recipe which was 250gms!!! whoooo I cant believe this!! And no I did not try to convert these into Oz or cups! luckily a have a scale that can do that for me but I just stuck to the original scales
Lets get on with this recipe and technique that made these babies so delicious, flaky , yet moist even after 3 days as I write this now... This may seem very complicated and time consuming, I did mine 2 days in advance.
250gms pastry flour
3 gms salt
205 gms butter ( cut in small cubes & chilled)
55 gms ice water
Very important to have your ingredients as cold as possible
Combine the flour, butter and salt put it into the mixing bowl and place it in the refrigerator , the paddle too!! for about 15 mins or so.


Using paddle attachment, mix on low until you get coarse crumbs.


Now, if you do not have a stand mixer, you still can achieve this by using a fork or a pastry cutter, try not to use your hand as much as you can


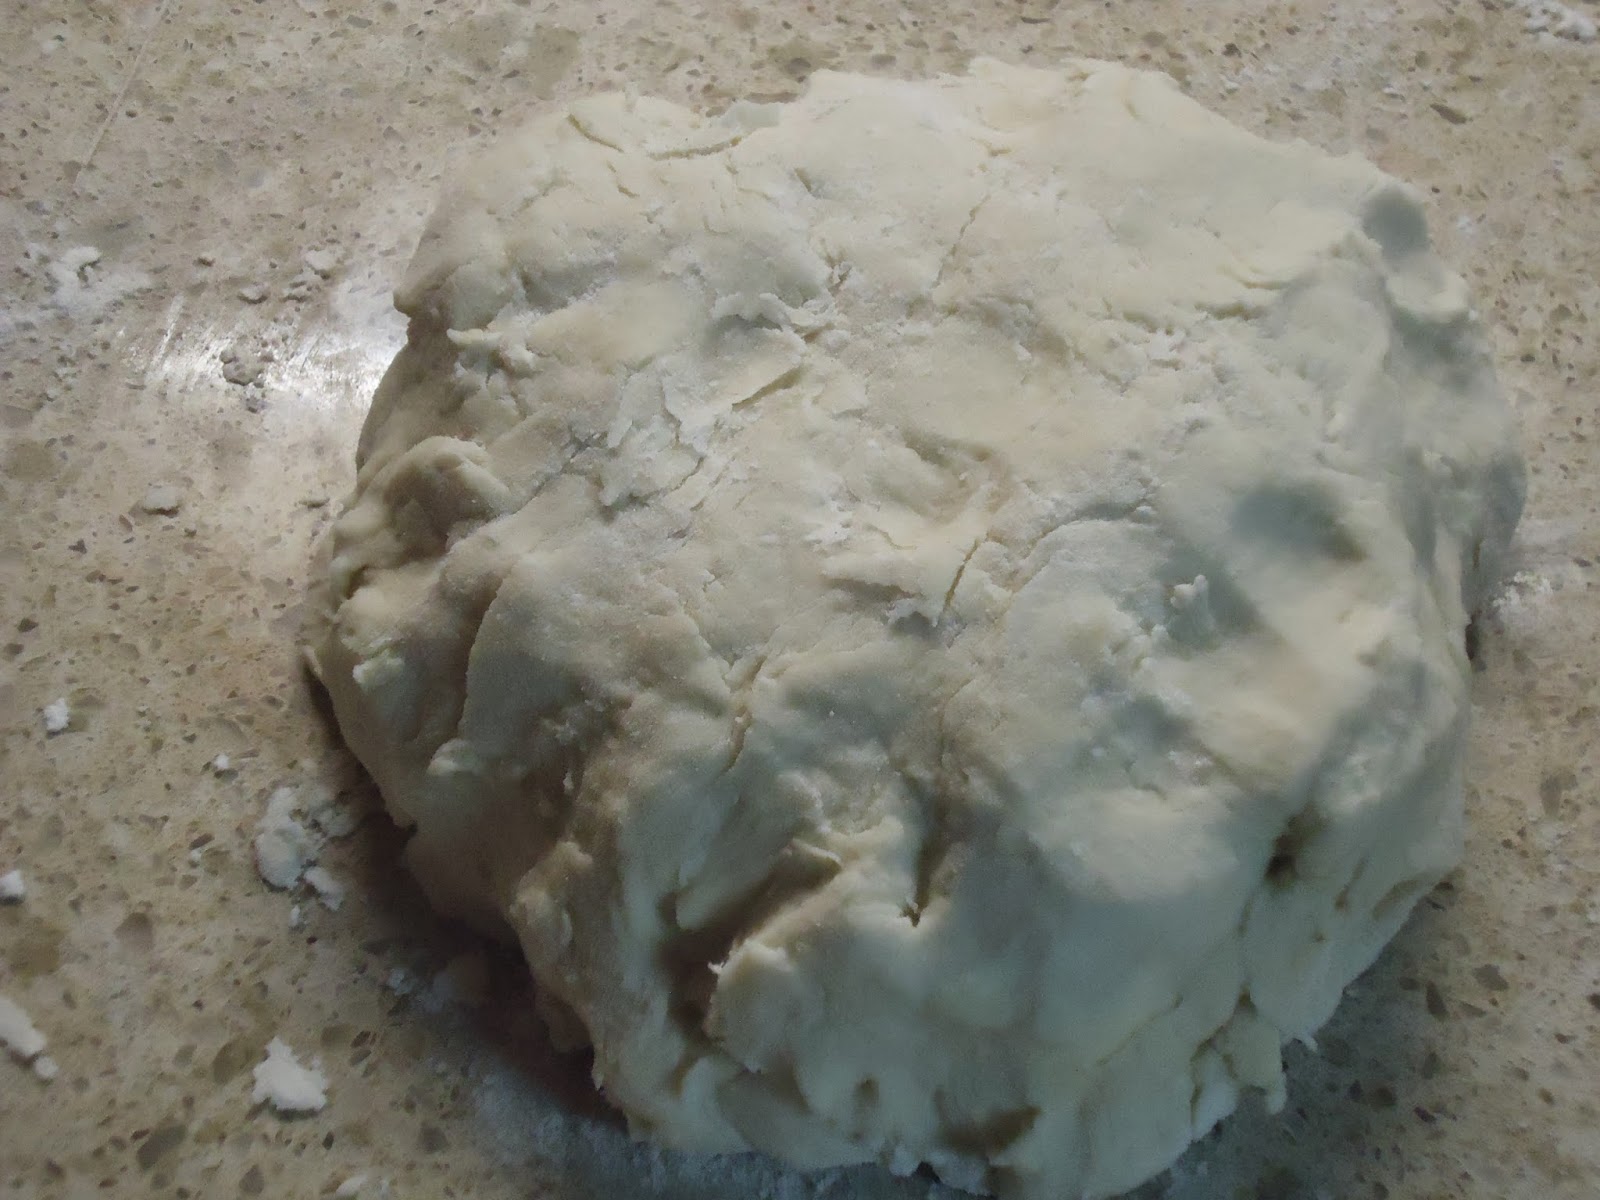
Add water, and mix just until dough comes together smoothly, about 1 minute. Remove dough from mixing bowl, and form into smooth ball. Flour hands and board as needed
Press ball into a disk .Wrap with plastic, and refrigerate for at least 4 hours. This keeps the dough from shrinking, warping and pulling away from the pan when you bake it. ( I kept mine overnight)

Roll dough out on floured surface until about 3 mm thick. Mold dough into baking dish/tart or mini tartlets, use your fork make holes for air to escape during baking.
Refrigerate, uncovered, for at least 1 hour. Overnight is best. If you do this, cover in plastic wrap after 1 hour, once the dough has hardened.
Now, the following steps are not necessary but I found it easier to do it this way since I was doing a lot of these tartlets 150 to be précised


Fill in with dry beans and blind bake (I lined them with aluminum foil and pour in dry beans).

Bake at 400F/200C for 20 mins and then remove the weight (dry beans) and bake for 5 more mins.
Now is the important part to prevent your crust from getting soggy.....( I found this from Joy of baking!).
After the shells have cooled , wrap them up tightly I just put them in one container and wrap them very tight. Put them in the freezer for an hour (if you want to use them for the same day or you can freeze them up to a month if you wish, I kept mine overnight) and then take them out and egg wash with egg white while still frozen and put them in the oven at 400 for about 8-10 mins, they may appear soft but they will get hard and voila! ready to add your variety of fillings .
Right now, I leave you with this, I will get back with the various fillings that I did, I have to make them again since I did not take any pictures...:(
I wanted the colors and the flavors to be bold and striking , as you can see the pictures below the fillings were as follows :
Mango Gelee with strawberry and mint, Vanilla bean pastry cream with blue berries, Orange ganache with raspberry and orange candy peel, lemon curd with raspberry and white chocolate shavings , coconut custard with black berries. I have the recipe ready for Mango and ginger curd
These are the pictures I took, just Ok....wait till the end and see the professional ones...Goodness, I gotta learn how to take such good pictures, I couldn't believe my food could look that awesome!! yeeeh!!


THIS ONE!!!!!!!!!!!


No comments:
Post a Comment